AIS Watermark JPG and PNG Images Freeware
Introduction
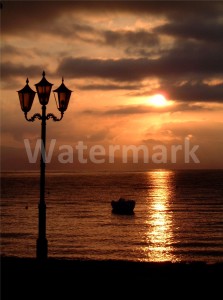
AISWatermark may be used to print transparent watermark text in the centre or bottom right of a jpg or png picture image file. A possible use for AISWatermark is to put copyright information on pictures that you submit to media sharing sites, for example Facebook.
Placing a watermark in the centre of an image should discourage copying the image by a third party whereas placing a watermark in the bottom right of an image is akin to signing a picture and could be removed by a third party by cropping the image.
AISWatermark will also convert BMP and TIF files to your chosen JPG or PNG format files.
As images come in all sizes the size of watermark specified as a percentage of the width of the image, the default value of 50 means that the watermark will occupy 50% or half of the image width.
The transparency of the watermark may be specified between 0 (zero) and 250 where 0 = completely opaque and 250 = completely transparent (invisible).
The colour, font weight and font name of the watermark may also be chosen.
To make images of varying size fit to a more web-site friendly size you may specify the width and height of completed images, the size of the completed image will not exceed the chosen size but either the width or height will be made equal to the specified size. The images will not be re-sized unless the Resize watermarked images option is selected.
The saved images may be in either of the web-site friendly format's JPG or PNG.
Getting Started
On first use of AISWatermark please review the program options by clicking the Settings tab.
To try the chosen settings click the File tab then Open an existing image. Type in an appropriate watermark message and then click Test Watermark, if you are happy with the resulting image click Save.
AISWatermark may be used without the watermark text; this option may be used if the image files are to be re-sized and converted to the selected image format jpg or png.
Batch Processing
It is likely that several images are to be watermarked, to do this click Process Folder then choose the Source Folder containing the images to be processed and select Include Sub Folders if appropriate. Once the source images have been selected choose the destination of the watermarked and re-sized images by clicking Destination Folder. Choose an appropriate Duplicate files option to either skip, replace or create a new file if the watermarked file already exists. Click Start to process the chosen images. The original folder tree is created under the destination folder.
If the chosen destination folder is a sub folder of the source folder then this folder will be ignored by AISWatermark as a source for images, otherwise the program will still be processing images the Christmas after next.

